Showing posts with label nails. Show all posts

Thursday, January 3, 2013

Sally Hansen Salon Insta-Gel Strips Starter Kit (People StyleWatch Style Hunters)

Last week, I was sent the Sally Hansen Gel Nail Strips Starter Kit by People StyleWatch Style Hunters.
The kit itself comes with all you need to create a long lasting gel manicure, such as a mini LED Lamp with Auto-Timer, Gel Top Coat, 16 Gel Polish Strips, 2 Nail Cleanser Pads, Cuticle Stick, File & Buffer. I was sent the color, "Red My Lips" but the starter kit also comes in "Shell we Dance" (a pale pink) and "Wine Not" (a slightly sparkly berry colour).

A couple of months ago, I purchased an at-home gel kit, so I was ready to compare this starter kit (which was much more affordable at only $29) to the kit I used by Red Carpet Manicure.


Everything that comes in the kit
The instructions are simple:

  1. Push back cuticles with orange stick and file nails with dark pink side of file.
  2. Open up gel nail strips container, and find strips that fit for each nail; set aside.
  3. Cleanse nails with cleaner pads.
  4. Peel off front of gel strips, peel back off gel strips. Affix to nail, using warm hands and cuticle stick to properly adhere strip to nail.
  5. Use light pink side of file to file the excess strip off the tip of nail.
  6. Apply a thin(!!) coat of gel top coat.
  7. Cure under LED lamp, and wipe sticky residue off with cleaner pads.
Overall, I had several issues with the kit! Although the instructions themselves were easy to follow, the biggest issue was with the application of the gel nail strips. Not a single strip fit any of my nails (most were too wide), and each of them had to be cut down and shaped to size. In no way is this time efficient (something this nail kit is supposed to be!!). I've used regular nail strips before, even Sally Hansen's Salon Effects, which I LOVE, and never had this problem until now.


You can see the jagged edges in this picture (pre-cure)
Thumb after cure - sides are still jagged
The strips themselves didn't adhere to my nails properly, either, and most had significant lifting even before curing with top coat. The mini LED light is simple to use (and safer than a UV light), although being able to cure only one nail at a time is a bit time-consuming. The top coat didn't give my nails that shine than my other gel topcoats have either, but it did the job.


finished nails - not too much shine, lifting is apparent
Once the nails were cured and cleansed, the lifting became even more apparent close-up. The kit promises up to two weeks of mirror shine and no chipping, but my nails peeled off within 24 hours when I gave my dog a bath; my regular gel nails last anywhere from two weeks to four weeks.

The individual products in the kit are useful and make for an affordable gel manicure, but the strips themselves are the ones with issues. Problems with sizing, jagged tips, and lifting make this particular kit a bit of a flop. Sally Hansen also sells a gel polish kit which comes in 16 colours (which would be applied like a regular nail polish, but cured under the UV light). I probably won't be buying the gel nail strips in the future, but I may give the Sally Hansen gel polish a try!


The complimentary products mentioned in this review were provided to me by People StyleWatch Style Hunters. All opinions are mine.

Sunday, July 29, 2012

Sally Hansen Magnetic Nail Color

Included in my Influenster Summer VoxBox was Sally Hansen Magnetic Nail Color in Ionic Indigo.

I've wanted to try magnetic nail polishes for a while, but most brands cost upwards of $15 and I wasn't willing to spend that much (what if I didn't like it!?). The good thing about Sally Hansen Magnetic Nail Color is that it costs only $9.99 and there's often coupons for Sally Hansen products in local stores (MUCH more affordable!).

Now, onto the actual nail polish! The bottle and color look like this.

In order to get the cool wavy effects, a magnet is included on the nail polish. My hovering the magnet over the freshly painted nail for a few seconds, it moves the particles in the nail polish to create cool designs.

The magnetic cap is removable. (It took me a while to figure this out. At first I just flipped the entire brush/cap over when 'magnetizing' my nails, but soon realized that with a firm pull the magnetic cap separates off the nail polish cap). Here's a photo of the 'lip' on the magnetic cap. The 'lip' prevents the magnet from touching your nail when 'magnetizing' the polish.


And here's a picture of what the nail polish looks like when the magnetic cap is removed. It's much easier to use this way!


Now, there's a few instructions to ensure that your magnetic mani goes right!


  • Remove nail polish from nails. Even if your nails are already clean, remove the oils on your nails by using nail polish (the oils on your nails can prevent the polish from sticking properly and can cause a shorter life span of your mani!).
  • Push your cuticles and shape your nails as you like. You can also apply a base coat.
  • Apply one thin/normal coat of the magnetic nail polish. Let it dry (this didn't take longer than 5 minutes for me). 

my nails with one coat 
  • First make sure your magnetic cap is nearby/handy. Then, apply a THICK coat of polish to your nail (only do one nail at a time!!!)
  • Take the magnetic cap and making sure that the 'lip' part is towards your cuticle, place it over your nail for about 10 seconds. Be careful to not let the magnetic cap touch your nail polish!
  • Lift the cap and admire your mani! You can also apply a top coat to your polish to help seal and protect it. Then clean up the edges as necessary.

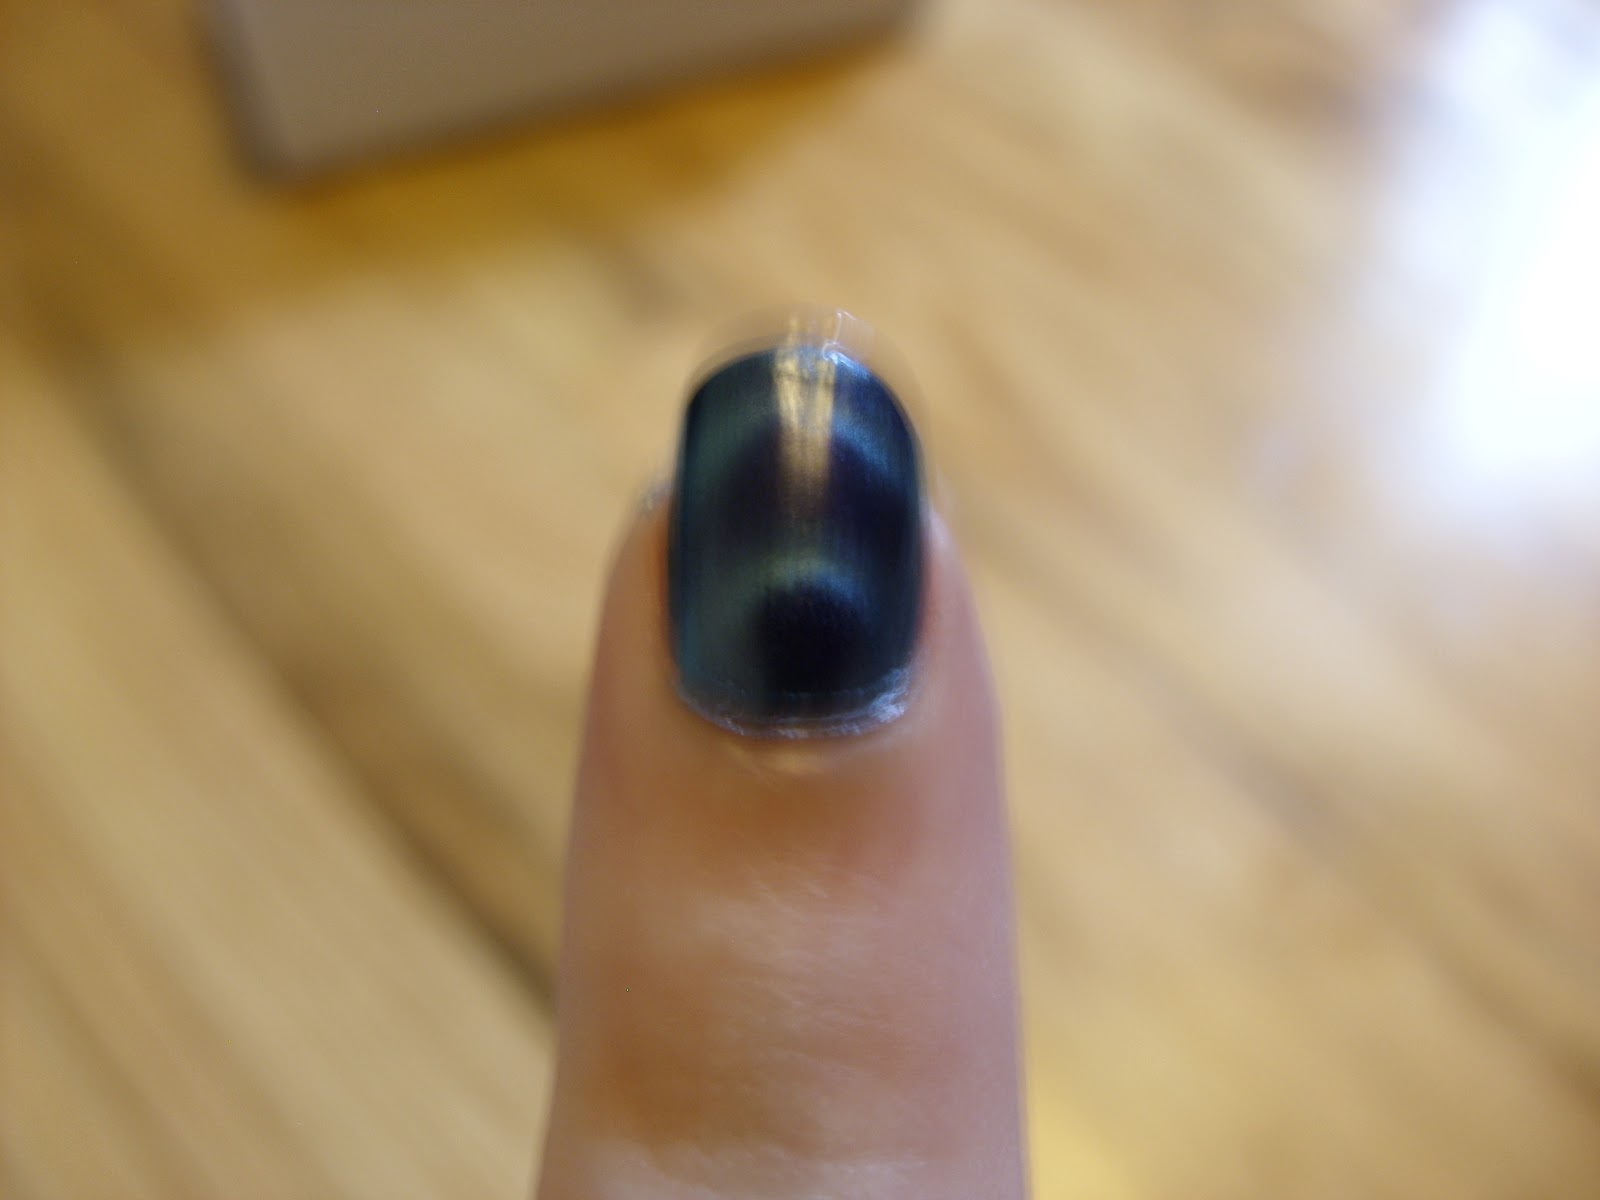
my nails after the first time using Sally Hansen Magnetic Color!
 Overall, I really liked the product and I got so many compliments on my nails! They almost remind me of how the light shines when you're underwater in a pool! Application in the beginning was easy, but as I did more of my nails, it became more simple and I stopped bumping the lip into my mani!


The complimentary products mentioned in this review were provided to me by Influenster for testing purposes. All opinions are mine.

Saturday, June 2, 2012

Essie Instant Dry Oil Review


I recently received Essie's Instant Dry Oil. It's marketed as a 'perfect polish protector' that 'helps prevent smudges and dents'. It retails for $8, about the same as a bottle of Essie nail polish. 

It comes in a bottle the same size and shape as regular Essie polishes, but the brush is a bit more sturdy and stiff (I think it's a tiny bit longer as well). Application is easy, as the product is pretty watery/smooth, and goes over your nail quickly. It doesn't really dry up (derp. it's an oil), so it's hard to tell when your nails are dry. It stayed on my nails until I brushed them against my clothing or something.

Essie's 'Brooch the Subject' with Sally Hansen Salon Effects in 'Laced Up'

It did make my nail polish pretty smooth, even though Essie polishes generally dry quickly/smoothly. But it did seem to take off some of the shine that normal Essie polishes have. I didn't use a top coat either. The manicure lasted exactly one week before there was significant chipping at the tips, but it seemed to last a bit longer than usual (my usual mani lasts around 5 days before a significant chip). I have healthy nails/nailbeds/cuticles, so I didn't notice an improvement in them. Maybe if you often use acrylics or have weaker nails you would.

The thing is, this stuff if just perfumed mineral oil!!! LOOK!!

 ..and mineral oil is cheap! The generic Walgreens kind retails for $5.49 for 16oz, this bottle is only .5 fl oz, and retails for $8.... come on. (If you were to buy 16 oz of Essie Instant Dry *cough*Mineral*cough* oil, you'd spend $256 instead of $5.49 at Walgreens, lolol)

Pros:
  • dried my nails quickly
  • (may) have improved the overall length of my manicure
Cons:
  • manicure wasn't as shiny as usual
  • THE PRICE!!!
Would I purchase it again? NO WAY. At least not this fancy schmancy Essie branded mineral oil. I could just go to Walgreens, and get it for like waaaay cheaper. or 
*TIP* Dipping your freshly painted nails into a tub of really cold water for about 30 seconds dries the nail polish super quickly and is super affordable.

Friday, June 1, 2012

Sally Hansen Salon Effects

Sally Hansen Salon Effects were also included in my Influenster Spring Beauty VoxBox.

 
This design is called, 'Laced Up'


The nail strips come in a little kit, complete with a nail file, instructions and a cuticle stick.


Here's a close up of my design. It's really cute, lacy, and feminine!


Ok, I LOVE LOVE LOVE LOVE LOVE these! I don't even know where to start! First the design was absolutely adorable, and if you don't like it, then there's 40 different styles (both solids and patterns).

Application was fairly easy, first you took the included cuticle stick and pushed back your cuticles, then you took the nail file and shaped the tips of your nails and buffed the top of the nail to smooth it.

*TIP* After doing the above steps, make sure to use nail polish remover on your nails, even if they look clean. The oils on your nails can prevent the strips from sticking to them, or cut your manicure length short.

Once you open the package of nail strips, find the strip that matches closest to your nail, peel the clear adhesive from the top (printed side) of the strip, snap the bottom part off (the blue part in the strip picture, it's easy to do), and peel the bottom adhesive off.

Position and center it on your nail, and then push down, using the smooth, flat part of the cuticle stick to take out any bubbles (I didn't get any bubbles) and to affix it to the nail.

*TIP* This part is easy, but super important! Take care to press down on the entire nail with the cuticle stick to ensure the strip stays! If it's not attached all the way now, it's more susceptible to peeling.

Once it's firmly attached, fold it down over your tip, and use the nail file to file away the excess making sure to only use the nail file in one direction to prevent ripping or tearing. (It comes off pretty easy).

If there's enough of the strip left over, you can use it for another nail!

You can also use the strips on all of your nails, or only as an accent nail, like I did. (I was able to use one strip to cover two nails). Covering them with a clear topcoat is optional, but not necessary.

my nails! I used Essie's Brooch the Subject as the polish. It matched perfectly with Laced Up!
The nail strips claim to last 10 days, but mine lasted 8 before the first strip (on my left hand) started lifting, got caught in my hair and fell off. The one on my right hand was affixed for 12 days, but about 1/2 of it chipped off. Removal is done by using nail polish remover.

Overall, I LOVED this product! I received so many compliments on it from friends and even strangers who stopped and asked where I got my nails done. Application was easy, and fairly quick (best part was no drying time for the strips). Depending on your nail length, you can get anywhere from 1 to 3 applications from each box.

*TIP* Since they are real nail polish, they can dry up if you open the package and don't use all the strips. I suggest putting them in a zip lock bag if you don't use them all.

Sally Hansen Salon Effects come in ton of different colors and designs

They retail for $9.99 and can be found at drug stores, mass merchandisers, or food stores.


The complimentary products mentioned in this review were provided to me by Influenster for testing purposes. All opinions are mine.

Monday, December 26, 2011

imPRESS Press-on Manicure

I also received imPRESS Press-On Nails in my VoxBox from Influenster.


imPRESS nails come in 18 solids...


...and 18 patterns, so you're sure to find one that you like!


The nail design that I received in my VoxBox was 'Over the Moon', a fun water marble looking design with a plum/gold color combination.


These are the 'Over the Moon' design
The instructions on the back were easy to follow
What I liked:
The nails were easy to put on! Just find out which nails fit yours best, clean your nails with the included prep pad, peel off the film on the back of the press-on nail, and stick it on! I had a manicure in minutes! Perfect for those occasions when you don't feel like going out to get a manicure. The nails lasted for over a week for me (light housework, showering, washing dishes, washing the dog, etc.). I thought the length was perfect. I generally have long natural nails, so these didn't affect me negatively.

imPRESS nails are found at stores like CVS, Meijer, Walmart, Walgreens, Duane Reade, Fred Meyer, Rite Aid, KMART, London Drugs, Harmon, and HEB. Solids are $5.99 and patterns are $7.99.

imPRESS nails (check out their website for a $1 off coupon!)

The complimentary products mentioned in this review were provided to me by Influenster. All opinions are mine.